
You’ve just wiped down every window in the house. The sun hits the glass and — there they are. Streaks. Smears. Ghostly fingerprint outlines that somehow look worse than before you started.
You’re not imagining it. Most DIY window cleaning actually makes glass dirtier because the products and methods people reach for spread grime rather than remove it. The good news is the professional approach is straightforward once you understand why streaks happen in the first place.
Why Windows Streak in the First Place
A streak is simply residue left on the glass after the water evaporates. That residue comes from one or more of the following sources:
- Mineral deposits in tap water. Sydney tap water is considered soft by Australian standards, but it still contains calcium and magnesium ions. When these dry on glass, they leave a white film.
- Cleaning product residue. Most household glass cleaners contain surfactants, alcohols, or fragrances that leave a thin film as they evaporate. That film catches light and shows every wipe mark.
- The wrong cloth. Cotton rags, paper towels, and old T-shirts shed fibres and smear rather than lift. Paper towels in particular leave micro-lint that is nearly invisible until sunlight hits it at an angle.
- Cleaning in direct sunlight. If the glass is warm, your solution evaporates before you can remove it. What’s left is a dried-on version of whatever was in the product.
- Cleaning in a circular motion. This pushes dirt around the glass rather than lifting it off the surface. It’s the single most common technique mistake.
What You Actually Need (and What You Can Skip)
Professional window cleaners do not use the glass cleaners sold in supermarkets. They do not use newspaper. And they almost never use circular motions. Here is what separates a streak-free result from a smeared one:
The tools that matter
| Tool | DIY Option | Professional Option | Why It Matters |
|---|---|---|---|
| Applicator | Spray bottle + cloth | Washer sleeve on a handle | Washer sleeves cover more area evenly and agitate grime properly |
| Water | Tap water | Pure / deionised water | Pure water has no dissolved solids, so it dries completely clear |
| Squeegee | Foam squeegee (hardware store) | Quality rubber-bladed squeegee | A sharp rubber edge picks up water cleanly; foam pushes it around |
| Finishing cloth | Cotton rag / paper towel | Lint-free microfibre or chamois | Microfibre lifts residue; cotton and paper leave fibres behind |
| Cleaning solution | Commercial spray glass cleaner | A single drop of dish soap in warm water | Less is more — excess surfactant creates more residue, not less |
The Step-by-Step Professional Technique
This is the same process Shimmer’s technicians use on commercial and residential windows across Sydney. The principle is simple: wet, agitate, remove, edge.
-
1
Remove loose surface dirt first
Use a soft dry brush or cloth to remove dust, cobwebs, and any loose grit from the frame and glass before applying any liquid. Skipping this step turns dry dust into wet muddy smears that are harder to remove.
-
2
Wet the full pane evenly
Apply your soapy water solution generously with a washer sleeve or microfibre cloth. Make sure the entire pane is wet before moving on. Partial wetting causes the solution to dry unevenly — which causes streaks.
-
3
Agitate the glass surface
Work the washer sleeve or cloth across the glass in an overlapping horizontal pattern, not circles. This agitation loosens built-up grime, road dust, and salt deposits. Give any stuck-on marks an extra pass.
-
4
Squeegee using the S-stroke method
Start at the top corner. Pull the squeegee horizontally across the pane, curving down at the end of each pass (forming an “S” shape). Overlap each stroke by about 2cm. After each pass, wipe the squeegee blade with a clean cloth. Work from top to bottom — never bottom to top.
-
5
Clean the edges and frame
Run a dry chamois or lint-free microfibre cloth along the four edges of the glass to pick up any remaining water. Pay attention to the bottom edge where water pools against the frame — leaving it wet is the most common source of drip marks.
-
6
Inspect in the right light
Stand to the side of the window and look across the glass at an angle — not straight through it. This is how professionals check for missed streaks. Any remaining marks will catch the light from this angle. Touch up with a slightly damp microfibre if needed.
What to Avoid — Common Mistakes That Cause Streaks
- Cleaning windows in full sun or on a hot day without working in shade
- Using newspaper — it works on some glass but leaves ink residue and breaks down when wet
- Using too much cleaning solution — excess surfactant is harder to remove and leaves more film
- Spraying glass cleaner directly onto the glass rather than onto the applicator cloth
- Using the same cloth to apply solution and to finish — you will redeposit what you removed
- Skipping the window frame and track — dirty frames drip back onto clean glass
- Washing windows right after rain without rinsing — rain carries dissolved particles that dry on the glass
When DIY Is Fine — and When It Is Not
The technique above works well for ground-floor residential windows and internal commercial glazing. Do it twice a year and you will maintain clean, streak-free glass without much effort.
There are situations, however, where DIY is either impractical or unsafe:
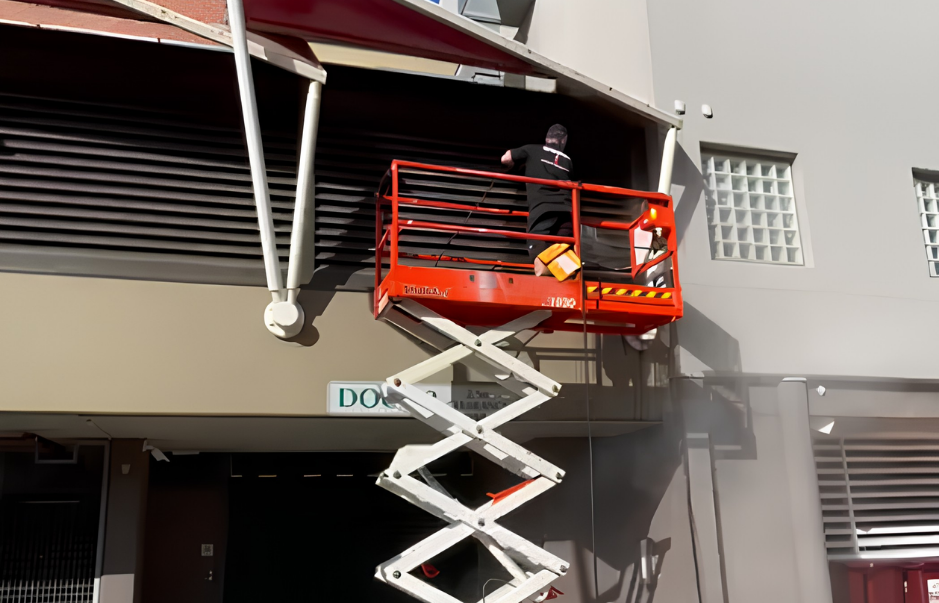
- Second storey and above. Ladder work on wet surfaces is a genuine safety risk. A waterfed pure water pole system — the type Shimmer uses — reaches upper floors safely from the ground.
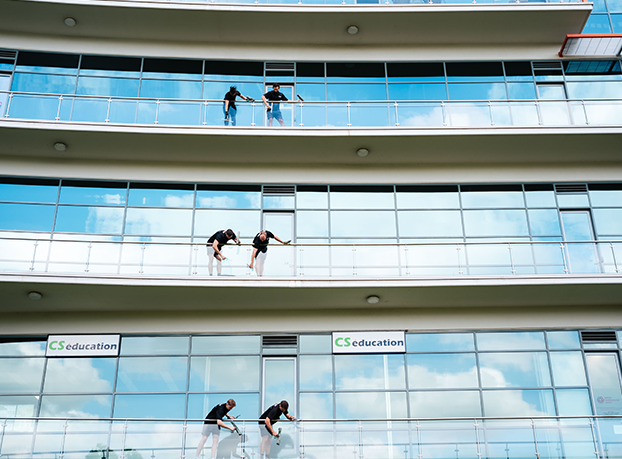
- Commercial glazing and facades. Large surface areas with heavy soiling require professional-grade equipment and techniques to get an even result across the full pane.
- Hard water staining or mineral buildup. If your glass has a white chalky film that does not respond to regular cleaning, it is mineral scale — not just dirt. This requires a specific acid-based treatment that is not safe for DIY use on most glass types.
- Rope access or high-rise windows. Any window above three storeys requires certified rope access technicians. This is a legal requirement under Australian workplace health and safety law.
- Heritage or specialty glazing. Leadlight, tinted, and coated glass require specific products that will not damage the surface. The wrong approach is irreversible.
How Often Should You Clean Your Windows?
The honest answer depends on where you live and what your windows face.
- Standard residential, Sydney suburbs: Every 3 to 6 months is adequate for most homes. Bi-annual professional cleans plus a quick wipe-down in between keeps glass looking clear year-round.
- Coastal or near major roads: Salt air and traffic pollution coat glass faster. Quarterly cleans are more realistic for maintaining clarity and preventing mineral pitting.
- Commercial properties: Depends on foot traffic, the building’s location, and any contractual or compliance requirements. Most commercial clients Shimmer works with schedule monthly or quarterly visits.
- After construction or renovation: Construction dust, concrete splatter, and paint overspray require a specialist post-construction clean — this is not a standard window wash and should not be treated as one.
A Word on Cleaning Products
The commercial window cleaning market is full of products promising streak-free results. Most of them deliver the opposite at scale. Here is the reality of common options:
| Product | Does It Work? | Notes |
|---|---|---|
| Windex / Spray glass cleaner | Partially | Works on light dust and fingerprints on indoor glass. Leaves a film on outdoor or heavily soiled glass. |
| White vinegar + water | Yes, for light grime | Cheap and effective for interior glass. Not strong enough for outdoor mineral buildup. Smell dissipates quickly. |
| Dish soap + warm water (1 drop) | Yes | The professional DIY standard. Low suds, cuts grease, rinses clean. Do not use more than one drop. |
| Rubbing alcohol + water | Yes, for interior | Good for removing smudges and disinfecting interior glass. Evaporates fast — works better on cooler days. |
| Ammonia-based products | No | Leaves a film that attracts dust. Damages tinted glass. Avoid entirely. |
| Pure / deionised water | Best result | No residue. No additives. Dries completely clear. Requires purification equipment to produce at scale. |
Your Pre-Clean Checklist
Before you start, make sure you have:
- A lint-free microfibre cloth (washed without fabric softener)
- A quality rubber-bladed squeegee with a sharp, undamaged blade
- A washer sleeve or second microfibre for applying solution
- A bucket of warm water with a single drop of dish soap
- A dry chamois or second microfibre for edging
- Overcast skies or shade — no direct sun on the glass
- Clean window tracks and frames (dirty frames drip onto clean glass)
Frequently Asked Questions
Why do my windows streak when I clean them?
What is the best homemade solution for streak-free windows?
What do professional window cleaners use to get streak-free results?
Does the weather affect how windows streak?
How often should windows be professionally cleaned to stay streak-free?
Can I clean second-storey windows streak-free myself?
What is the fastest way to clean windows without streaks?
Are microfibre cloths better than paper towels for window cleaning?
Want streak-free windows without the effort?
Shimmer’s ISO-certified team uses pure water technology across Sydney. Residential, commercial, high-rise, and strata — spot-free results, guaranteed.